Creating Curiosity with Inquiry Envelopes

Before diving into a new unit in my middle school social studies classes, I love to get my students asking questions first. Creating curiosity is a great way to turn any unit into a study where the focus is all about inquiry.
Instead of just telling students what they need to know, I show them pictures, words, and timelines to get them asking questions and making connections.
What is an Inquiry Envelope?
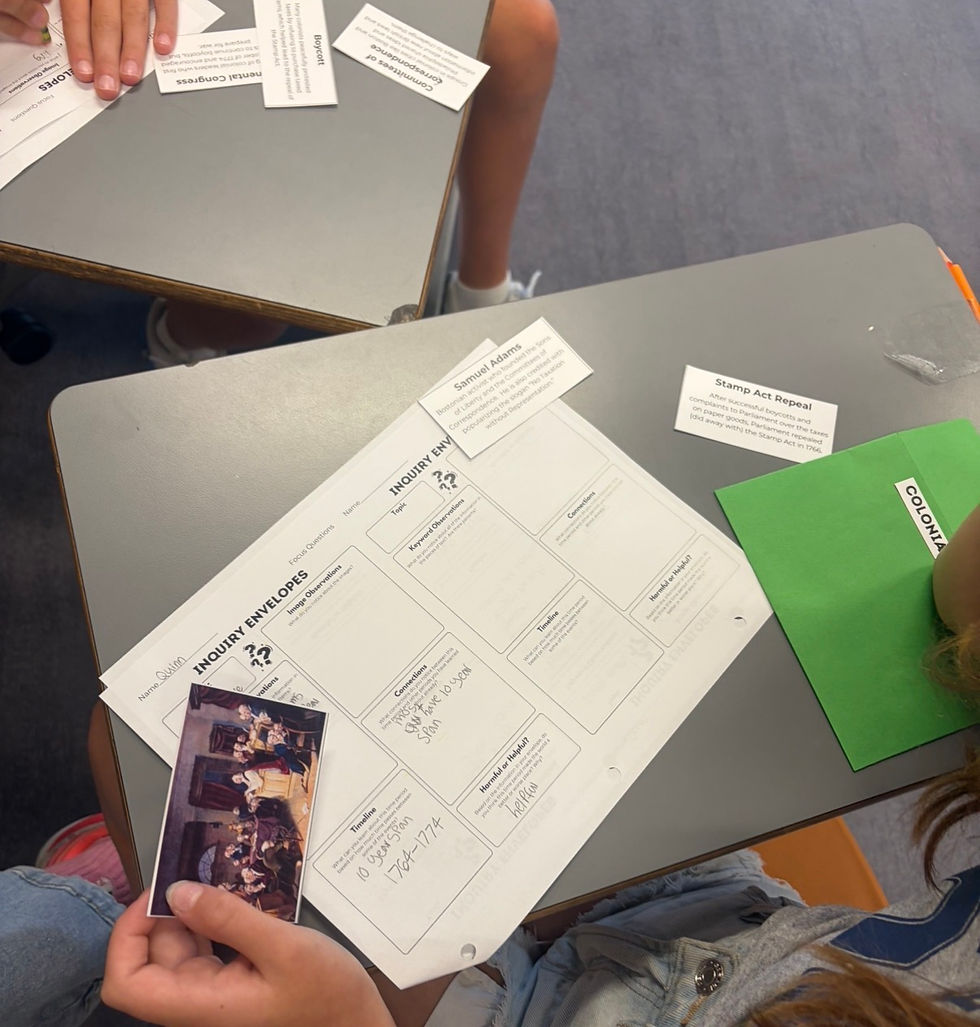
An inquiry envelope is a mailing envelope (you could also use a small bag) filled with bite-sized bits of information about a topic. Inside the envelope are a series of related images, key words with their definitions, and a timeline.
Sometimes, I allow students to look at the items all at once, and other times, we go through the activity, focusing on one item at a time. The purpose of these envelopes is to give students a very brief overview of the topic that they are about to learn more about.
I want to them coming into each lesson with a little bit of background knowledge to help them make new connections, as well as curiosity to make it so that they want to learn more and already have some questions ready to go.
How do Inquiry Envelopes work?
Step 1: Stuff the envelopes.
I divide my unit into different topics. Then, I find relevant images to help students understand the topic. Depending on the content, I’ll include paintings, photographs, graphs, maps, and even political cartoons or the front page of a newspaper.
Next, I create short snippets of information. Sometimes, I will provide key words with their definitions. Other times, I will just provide quick facts about the topic. With kids who are ready for the challenge, I’ll give them blank cards with words that they need to find the definitions for.
Finally, I create a simple timeline with four or five related events. This helps them contextualize all of the images and words that they are seeing.

Step 2: Break students into groups.
I divide my students into small groups and choose one to be the “keeper” of the envelope. This student’s job is to take out all of the items at the correct time and put them back when they are finished.

Step 3: Hand out envelopes and graphic organizers and set a timer.
I usually set my timer for 5 minutes, but you can change that depending on your students' grade level and ability. During the five minutes, students go through the items in the envelope and discuss what they see. As the discuss, they can use the graphic organizer that gives them some guiding questions to focus on. At the end of each envelope, they write down a topic or a question that they’d like to learn more about.
Step 4: Decide what students will do with what they have learned.
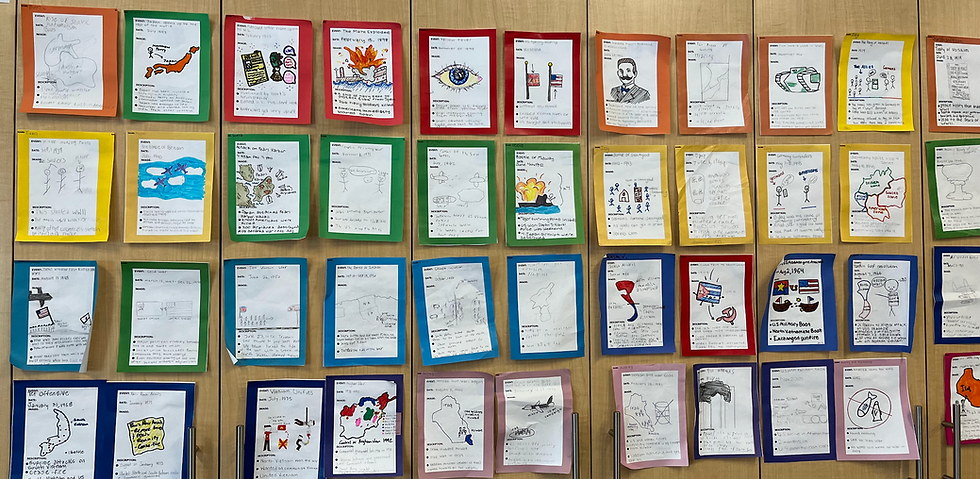
In my class, I usually have kids use inquiry envelopes as a jumping off point for their next research project. They take one keyword that they found in the envelope and turn it into a research question. Then, they research the answer to that question and turn it into a project or presentation to teach everyone else.

Why do I love Inquiry Envelopes?
Inquiry envelopes are a hands-on activity that gets kids thinking, talking, and asking questions. It is the perfect way to preview a unit without kids just reading or taking notes on day one. Instead of telling kids exactly what to research, they get to decide what they’re interested in. I also end up using inquiry envelopes throughout the entire unit. Kids keep coming back to them as a resource.
Where can I find Inquiry Envelopes?
If you’re looking for a way to create excitement and curiosity at the beginning of a new unit or research project, give inquiry envelopes a try!
I have several sets about both world and United States History in my TpT store.


Comments